We use cookies to make your experience better. To comply with the new e-Privacy directive, we need to ask for your consent to set the cookies. Learn more.
Basic Nail Art Techniques
Nail art has evolved into a form of self-expression, a way to make a statement without saying a word. But let's face it, not all nail polishes are created equal when it comes to achieving intricate designs that last. Enter gel polish, the game-changer in the world of nail art. With its long-lasting finish, quick drying time, and vibrant colour palette, gel polish offers endless possibilities for creativity. Whether you're a salon owner looking to upskill your team or a DIY enthusiast keen to elevate your nail art game, this comprehensive guide has got you covered.
NSI Gel Polish - Polish Pro

Why Choose Gel Polish?
When it comes to nail art, the options are endless. But if you're in the business of delivering top-notch services to your clients, you'll want to consider gel polish as your go-to medium for creating stunning designs. So, why should you opt for gel polish over other alternatives? Let's delve into its numerous advantages and features that make it a game-changer in the world of nail art.
Long-lasting Finish
One of the most compelling reasons to choose gel polish is its long-lasting finish. Unlike regular nail polish, which can chip or peel within days, gel polish is designed to last for weeks. This durability is a significant advantage for busy individuals who don't have the time for frequent salon visits.
Tips for Maintenance:
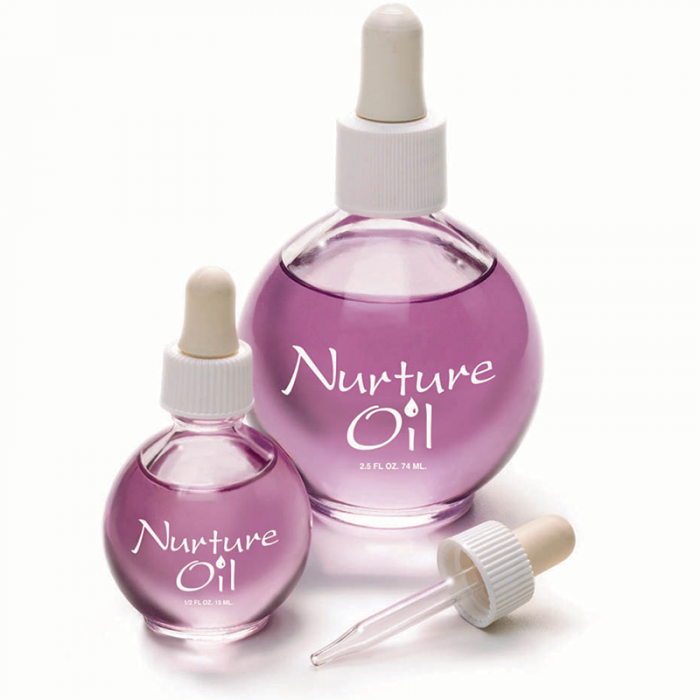
- Use cuticle oil daily to keep the nail bed hydrated.
- Avoid using your nails as tools to prevent chipping.
- Wear gloves when doing household chores that involve water or chemicals.
NSI Nurture Oil
By following these simple maintenance tips, you can ensure that your gel polish stays pristine for an extended period.
Quick Drying Time
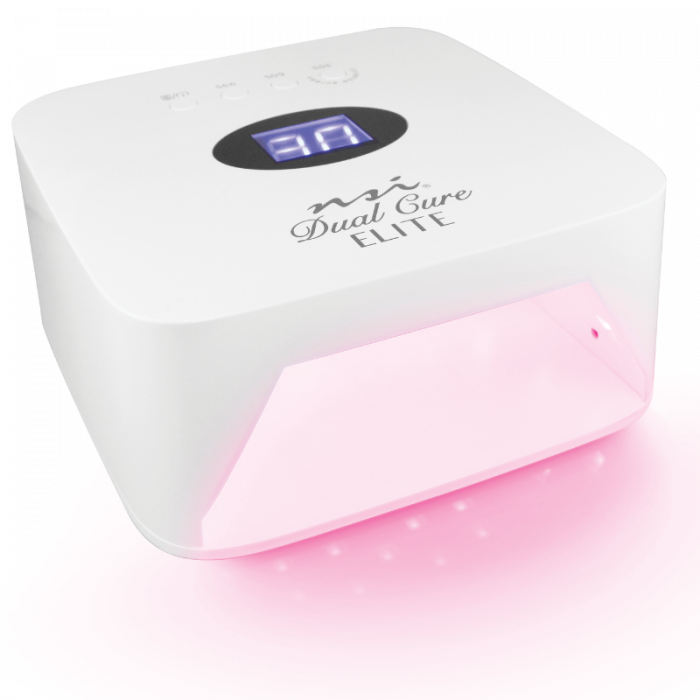
Time is money, especially in the fast-paced world of beauty and nail salons. Gel polish dries almost instantly under a UV or LED lamp, making it a time-saver for both technicians and clients. This quick drying feature is particularly beneficial for those who are always on the go and can't afford to spend long hours at the salon. No more awkward moments trying to fish your keys out of your purse without smudging your freshly painted nails!
NSI Elite Dual Cure Lamp
Vibrant Colors and Textures
If you're looking to unleash your creativity, gel polish has got you covered. The range of vibrant colours and textures available is nothing short of amazing. From glittery golds to matte blacks, the possibilities are endless. This variety allows for more creative freedom, enabling you to offer bespoke designs that cater to each client's unique taste. Whether it's a subtle French manicure or an intricate floral design, gel polish gives you the palette to make it happen.
Safety and Non-toxicity
Last but not least, let's talk about safety. In an industry where clients are increasingly concerned about the products being used on their bodies, gel polish stands out for its non-toxic nature. Many brands offer formulations that are free from harmful chemicals like formaldehyde, toluene, and DBP. Some even come with certifications to back up their safety claims.
Types of Gel Polish
In the ever-evolving world of nail art, gel polish has carved out a niche for itself, offering a plethora of options to both nail technicians and clients. But did you know that not all gel polishes are created equal? That's right; there are different types of gel polishes available in the market, each with its own set of pros and cons. Let's explore these types to help you make an informed decision for your salon or beauty business.
UV Gel Polish
UV gel polish is a classic in the realm of gel manicures. It's formulated to be cured under UV light, which means it won't dry until it's exposed to a specific wavelength of ultraviolet light. This type of gel polish is known for its durability and long-lasting shine.
Characteristics of UV Gel Polish:
- Requires UV lamp for curing
- Known for high gloss and durability
- Takes a bit longer to cure compared to LED gel polish
Pros and Cons:
Pros: Long-lasting, high gloss, wide range of colours
Cons: Longer curing time
LED Gel Polish
LED gel polish is a newer innovation and is cured under LED light. It's similar to UV gel polish but cures faster and is considered to be a bit safer due to the absence of UV radiation.
Differences Between UV and LED Gel Polish:
- LED cures faster (30 seconds compared to 2 minutes for UV)
- LED lamps are generally more energy-efficient
- LED gel polish often has a more flexible texture
Pros and Cons:
Pros: Quick curing time, safer, energy-efficient
Cons: Slightly more expensive.
Hybrid Gel Polish
If you can't decide between UV and LED, why not have both? Hybrid gel polishes are designed to work with both UV and LED light, offering the best of both worlds. This type of gel polish is incredibly versatile and user-friendly, making it a popular choice for many salons.
Why Choose Hybrid Gel Polish?
- Works with both UV and LED lamps
- Offers a balance between durability and flexibility
- Ideal for salons that offer various types of gel services
Tools You'll Need
Creating stunning nail art with gel polish isn't just about having the right polish; it's also about having the right tools. Whether you're a beginner or a seasoned nail artist, having a well-equipped toolkit can make all the difference. Let's delve into the essential tools you'll need and why they're important. We'll also recommend some specific products to help you get started.
UV/LED Lamp
A UV/LED lamp is indispensable when it comes to curing gel polish. Without proper curing, your gel polish won't set, leaving you with a smudged mess. So, how do you choose the right lamp? Look for one with adjustable settings and a timer.
Base and Top Coats
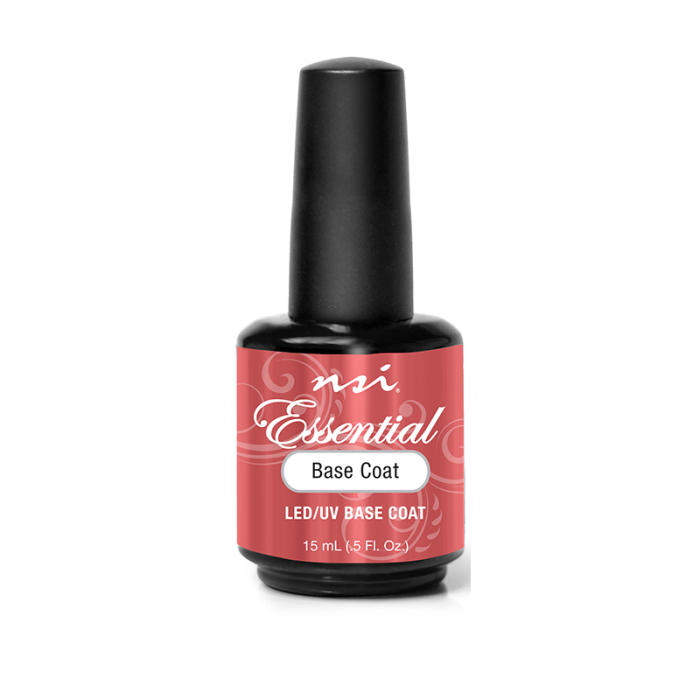
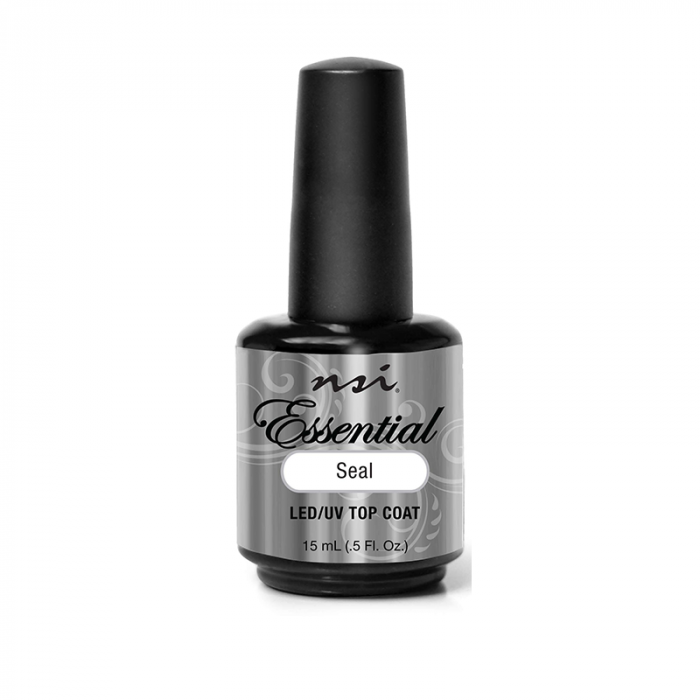
The base and top coats are like the bread in a sandwich; they hold everything together. A good base coat ensures that your gel polish adheres well to your nails, while a top coat gives your artwork a glossy, long-lasting finish. Don't skip these steps if you want your nail art to last and shine.
NSI Essential Base Coat
NSI Essential Top Coat - Seal
Nail Brushes
Different strokes for different folks, and different brushes for different designs! Nail brushes come in various shapes and sizes, each serving a unique purpose. Whether you're drawing fine lines or filling in larger areas, the right brush can make your task easier.
Dotting Tools and Accessories
Dotting tools are the unsung heroes of intricate nail art. These tools help you place tiny embellishments like rhinestones or create perfect dots and swirls. And let's not forget other accessories like stickers and gems that can elevate your designs to the next level.
Prepping Your Nails
Before you dive into the creative process of crafting stunning nail art with gel polish, it's crucial to lay the right foundation. Proper preparation of your nails is the first step toward achieving optimal results that not only look fabulous but also last longer. Let's walk through the essential stages of preparing your nails for gel polish application.
Cleaning and Buffing
The first order of business is to clean and buff your nails. This step removes any residual oils or dirt that could interfere with the adhesion of the gel polish. Use a gentle nail cleanser or soap to clean the nails and then pat them dry. Next, use a buffing block to lightly buff the surface of each nail. This creates a slightly rough texture, which helps the base coat adhere better.
Tools Required for Cleaning and Buffing:
Cuticle Care
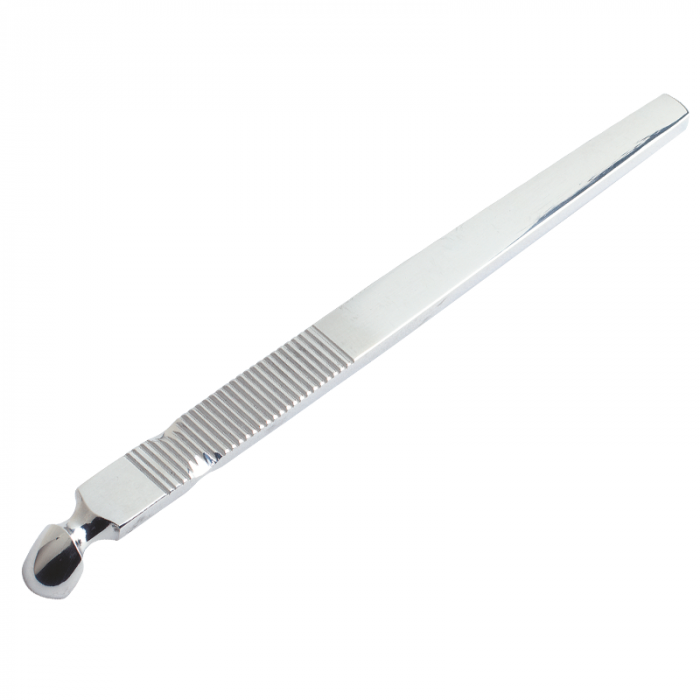
Taking care of your cuticles is an often-overlooked but vital part of nail preparation. Overgrown or poorly maintained cuticles can make even the most exquisite nail art look messy. Use a cuticle pusher to gently push back the cuticles or a cuticle remover to dissolve them. If you're comfortable with it, you can also trim any excess cuticle skin, but do so carefully to avoid injury.
Cuticle Pusher (Stainless Steel)
Tips for Safe Cuticle Care:
- Soften the cuticles with cuticle oil or cream before pushing or removing them.
- Use a sterilized cuticle pusher or remover.
- Avoid cutting too close to the nail bed to prevent infection.
Applying Base Coat
Once your nails are clean and your cuticles are in check, it's time to apply the base coat. This layer serves as a primer for your nails, enhancing the adhesion of the gel polish. Apply a thin, even layer of base coat to each nail, making sure to cap the free edge. Cure it under your UV/LED lamp according to the manufacturer's instructions.
Importance of Base Coat:
- Enhances polish adhesion
- Prevents staining of the natural nail
- Provides a smooth surface for the gel polish
Nail Shape and Length
Last but not least, consider the shape and length of your nails. The right shape can complement your overall design and even make your fingers look more elongated or graceful. Whether you prefer a classic round shape, a trendy coffin, or a chic stiletto, the shape and length of your nails can make a significant impact on the final look.
Guidelines for Different Styles:
- Round or Oval: Best for shorter nails and simpler designs.
- Square or Squoval: Offers a broad canvas for more intricate art.
- Coffin or Stiletto: Ideal for those who want to make a bold statement.
Basic Nail Art Techniques
If you're new to the world of gel polish nail art, you might be wondering where to start. The good news is that you don't have to be a seasoned artist to create stunning designs. With a few basic techniques up your sleeve, you can transform plain nails into miniature masterpieces. Let's explore some of these techniques and offer step-by-step guides to help beginners get started.
Marbling Technique
Marbling is a fascinating technique that creates swirls of color, resembling natural marble. To achieve this look, you'll need at least two different colors of gel polish and a fine nail art brush.
Nails by Pinky's Nails and Beauty
- Start by applying a base coat and curing it under your UV/LED lamp.
- Apply a layer of your base color and don't cure it just yet.
- Drop a small amount of your second color onto the wet base.
- Use your fine nail art brush to gently swirl the colors together.
- Once you're happy with the design, cure it under the lamp.
- Finish with a top coat and cure again for a long-lasting finish.
Ombre Technique
The ombre technique involves blending two or more colors together to create a smooth gradient. This technique can add depth and interest to your nail art.
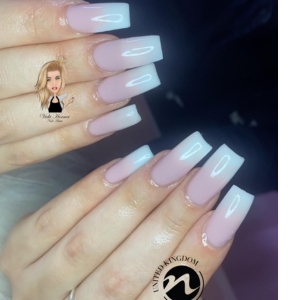
Nails by Vicki Horner
- Apply and cure your base coat.
- Paint half of your nail with one color and the other half with a second color.
- While the polish is still wet, use a sponge or brush to gently blend the colors in the middle.
- Cure the design under your lamp.
- Apply a top coat and cure again to seal the gradient.
Dotting Technique
Dotting is as simple as it sounds but offers endless possibilities for creativity. You'll need a dotting tool or even a toothpick for this technique.
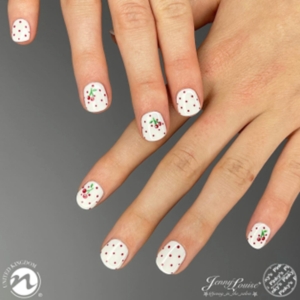
Nails by Pinky's Nails and Beauty
- After applying and curing your base coat, apply your chosen base color and cure it.
- Dip your dotting tool into a different color of gel polish.
- Gently place dots on your nails in any pattern you like.
- Cure the design under your lamp.
Using Gel Polish for Designs
When it comes to nail art, gel polish is a game-changer. Its versatility and ease of application open up a world of design possibilities that are hard to achieve with regular nail polish. From layering to mixing mediums and creating textured effects, gel polish offers a range of techniques to elevate your nail art. Let's delve into some of these methods.
Gel Polish Layering
Layering is a technique that allows you to create more intricate designs by building up multiple layers of gel polish. For instance, you can start with a base color, add a layer of a different shade, and then use a fine brush to add details or patterns. Each layer is cured under a UV/LED lamp before adding the next, ensuring that the design sets perfectly. This technique is excellent for creating depth and dimension in your designs.

Nails by Pinky's Nails and Beauty
Using Gel Polish for Fine Details
The consistency of gel polish is ideal for adding fine details to your designs. Unlike regular polish, which can run or smudge, gel polish stays where you put it until you cure it. This allows for a high level of control when you're working on intricate patterns or tiny details. Fine brushes and dotting tools are your best friends here.
Nails by Pinky's Nails and Beauty
Tips and Techniques:
- Use fine brushes for lines and small details.
- Practice on a paper towel before applying to the nail.
- Cure each detail before moving on to the next to prevent smudging.
Inspiration and Ideas for Your Next Design
Feeling a bit stuck for inspiration? Don't worry; we've got you covered. From celebrity-inspired looks to seasonal themes and cultural motifs, there's a world of ideas out there to spark your next nail art project. Let's explore some trending designs and themes that you can try out or adapt to make your own.
Seasonal Inspirations
Seasons and holidays offer a rich source of inspiration for nail art. For example, autumn might inspire you to try out warm, earthy tones, while winter could lead you to experiment with icy blues and silvers.
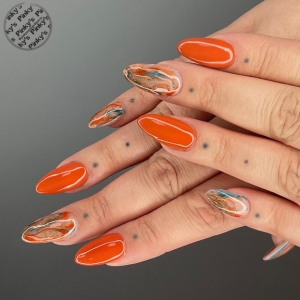
Autumn Leaves:
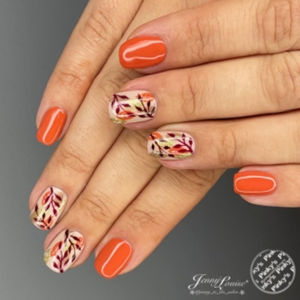
Nails by Pinky's Nails and Beauty
- Apply a base coat and cure it.
- Use shades of red, orange, and yellow gel polish to create a gradient effect on each nail. Don't cure it yet.
- While the polish is still wet, use a sponge to blend the colors together.
- Cure the gradient under your UV/LED lamp.
- Use a fine brush and dark brown gel polish to draw leaf patterns on top of the gradient.
- Cure again and finish with a top coat.
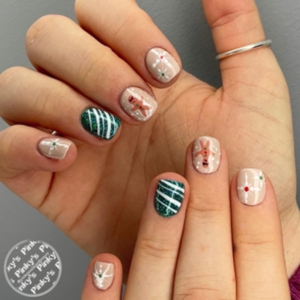
Winter Snowflakes:
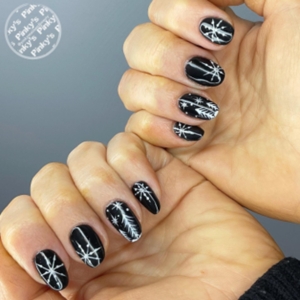
Nails by Pinky's Nails and Beauty
- Apply a base coat and cure it.
- Apply two layers of icy blue gel polish, curing after each layer.
- Use a fine brush and white gel polish to draw snowflakes on each nail.
- Add tiny silver gems at the center of each snowflake for extra sparkle.
- Cure under your UV/LED lamp.
- Seal the design with a top coat and cure one last time.
Cultural Inspirations
Nail art inspired by various cultures and traditions can be both beautiful and meaningful. However, it's crucial to approach this with sensitivity and respect. For instance, if you're inspired by traditional Japanese art, make sure you understand the symbolism and history behind the patterns you're using.
Guidelines for Respectful Representation:
- Do your research to understand the cultural significance of the designs you're using.
- Give credit to the culture or tradition that inspired you.
- Avoid cultural appropriation by respecting the origins and meanings of the designs.
Abstract and Artistic Inspirations
If you're an art lover, why not translate that passion into your nail art? Abstract designs allow you to play with color, shape, and texture in a way that's uniquely you.
Tips for Translating Art into Nail Designs:
- Look at your favorite pieces of art for color combinations and patterns.
- Don't be afraid to mix mediums. Use foil, glitter, or even tiny beads to add texture.
- Practice your design on paper first to get a feel for how it will look on your nails.
Advanced Techniques
So, you've mastered the basics of gel polish nail art and are ready to take your skills to the next level? Fantastic! Advanced techniques offer a whole new world of creative possibilities. From 3D nail art to encapsulated designs, these methods will add depth, texture, and complexity to your creations. Let's dive into some expert tips and tricks that will elevate your nail art game.
3D Nail Art
3D nail art is a technique that brings your designs to life, literally. It adds a third dimension to your nails, making them pop. One popular 3D design is creating flowers.
Guide for Creating 3D Flowers:
- Preparation: Apply a base coat and cure it. Then apply your chosen background color and cure it as well.
- Creating Petals: Use a thicker consistency gel polish or a 3D gel to create the petals. Place a small dollop on the nail.
- Shaping: Use a pointed tool to shape the dollop into a petal. Cure it before moving on to the next petal.
- Building the Flower: Continue adding petals around the first one, curing each as you go.
- Details: Add a tiny bead or a different color at the center.
- Finishing: Once you're happy with the 3D flower, apply a top coat around the design but not on it. Cure it to seal the art.
Encapsulated Art
Encapsulated art involves embedding small objects into the gel polish, creating a 'trapped' or 'encapsulated' look. You can use a variety of objects like glitter, foil, or even tiny dried flowers.
Types of Objects and Embedding Method:
- Preparation: Apply a base coat and your background color. Cure both.
- Placement: Apply a layer of clear gel polish where you want to place the object.
- Embedding: Use tweezers to place the object onto the wet layer.
- Sealing: Apply another layer of clear gel polish over the object and cure it.
- Finishing: Apply a top coat and cure.
Water Marbling
Water marbling is an advanced form of the basic marbling technique. It involves using water to create intricate patterns.
Guide for Water Marbling:
- Preparation: Apply a base coat and a white or light-colored base. Cure both.
- Water Setup: Fill a cup with room-temperature water.
- Dropping Polish: Drop different colors of gel polish into the water. They should spread out and form rings.
- Creating Patterns: Use a pointed tool to swirl the colors into a design.
- Dipping: Dip your nail into the design.
- Cleanup: Use a cotton swab to remove excess polish around the nail.
- Curing and Finishing: Cure the design and apply a top coat. Cure again to seal it.
These advanced techniques will surely make your nail art stand out. With a bit of practice, you'll be creating masterpieces that are not just beautiful but also uniquely you.
Tips for Longevity
So, you've crafted a stunning nail art masterpiece on your nails. The next logical step is to make sure it lasts as long as possible. After all, what's the point of all that hard work if it's going to chip or fade away in a matter of days? Let's explore some expert advice on how to keep your gel polish looking fresh and fabulous for weeks on end.
The Importance of Top Coat
Think of a top coat as the guardian angel of your nail art. It seals in your design, providing a protective shield against chips, scratches, and everyday wear and tear. But not all top coats are created equal. You have glossy ones that give a high-shine finish, matte ones for a subdued look, and non-wipe varieties that save you an extra step by not leaving a sticky residue. The type you choose can significantly impact how long your design lasts, so choose wisely.
NSI Essential Seal
Daily Maintenance
Daily care is the cornerstone of long-lasting nail art. Start by keeping your hands and cuticles moisturised. A good hand cream and cuticle oil can work wonders here. Also, when you're doing household chores that involve water or chemicals, make sure to wear gloves to protect your nails. It's a simple step, but it can make a world of difference in how long your nail art lasts.
UV Protection
If you're someone who spends a lot of time outdoors, UV rays can become your nail art's worst enemy. Prolonged exposure can fade the colors and ruin your design. A UV-protective top coat can be a lifesaver in such situations. It adds an extra layer of defense against the sun's harmful rays, helping to keep your design vibrant and intact.
When to Refresh
All good things must come to an end, and that includes your nail art. But how do you know when it's time to say goodbye? Well, there are a few telltale signs. If the edges of your gel polish start lifting, that's a clear indicator. Fading colors are another sign that your design's days are numbered. And let's not forget the growth gap. As your nails grow, a gap appears between the cuticle and the gel polish. When this becomes too noticeable, it's time for a refresh.
Conclusion
So there you have it, a comprehensive guide to creating stunning nail art with gel polish. From understanding the unique advantages of gel polish to mastering basic and advanced techniques, we've covered it all. We've also delved into the essential tools you'll need and how to keep your artwork looking fresh for weeks. Remember, the key to long-lasting, eye-catching nail art isn't just in the application; it's in the daily care and maintenance. Whether you're a seasoned pro or a budding artist, these tips and tricks will help you elevate your nail art game.
Frequently Asked Questions (FAQs)
1. Can I Mix Brands When Doing Gel Polish Nail Art?
While it's possible to mix brands, it's not generally recommended. Different brands have different formulations, and mixing them could affect the longevity and quality of your nail art. Stick to one brand for consistent results.
2. What Should I Do If My Gel Polish Starts Peeling?
Peeling is often a sign of poor adhesion. Make sure to prep your nails properly by cleaning, buffing, and applying a quality base coat. Check the lamp you are using is the one recommended by the Brand.
- How Can I Safely Remove Gel Polish at Home?
To safely remove gel polish, soak your nails in acetone after gently filing the top layer of the polish. Wrap each nail in foil and let it sit for about 15 minutes. Then, use a cuticle pusher to gently scrape off the loosened polish.
4. Are There Any Health Risks Associated With Gel Polish?
Gel polish is generally considered safe when applied and removed correctly.