We use cookies to make your experience better. To comply with the new e-Privacy directive, we need to ask for your consent to set the cookies. Learn more.
Understanding the French Manicure
Ah, the French Manicure—a timeless classic that never goes out of style. Whether you're a salon owner or a DIY beauty enthusiast, you know the allure of those pristine white tips and glossy finish. But let's be honest, achieving that salon-perfect look can sometimes feel like a Herculean task. From choosing the right tools to mastering the application techniques, the process is fraught with pitfalls that can turn your dream nails into a less-than-perfect reality.
That's where this comprehensive guide comes in. We'll delve deep into the world of French Manicures, offering you expert insights and practical tips to overcome common challenges. From understanding the anatomy of a French Manicure to avoiding common mistakes, this article is your go-to resource for nailing that flawless look. So, if you're ready to elevate your nail game to new heights, read on!
Understanding the French Manicure
Ah, the French Manicure—a timeless classic that has graced the nails of women for decades. Whether you're a bride-to-be, a professional, or someone who simply loves the elegance of well-manicured nails, the French Manicure is your go-to style. But what exactly makes it so special? Let's delve into its anatomy, explore its colour palette, trace its origins, and discuss why it remains a popular choice for many.
The Anatomy of a French Manicure
Base Coat: The Unsung Hero
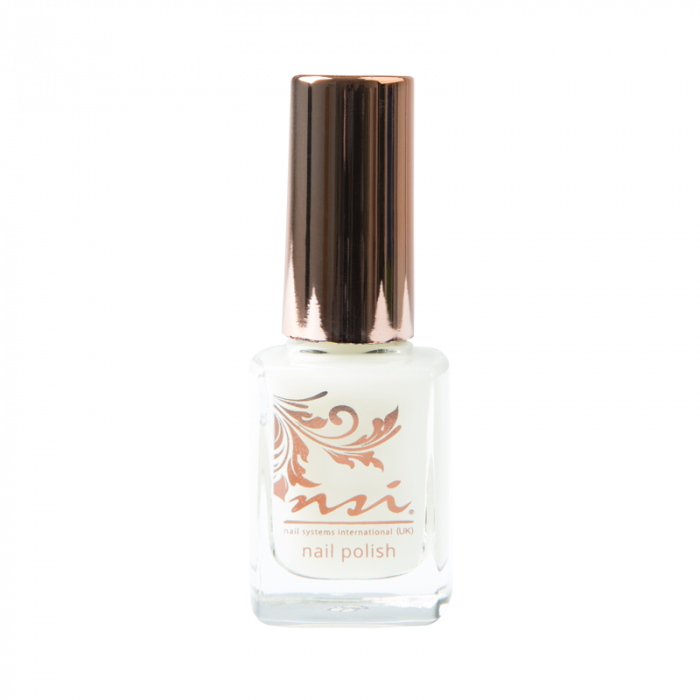
The base coat might not be the star of the show, but it's certainly the unsung hero. It's the layer that preps your nails for what's to come, ensuring that the polish adheres better and lasts longer. Think of it as the primer you'd use before applying your foundation—it creates a smooth canvas for the subsequent layers. At NSI Nails, you'll find a range of base coats specifically designed to enhance the longevity of your manicure.
NSI Polish Base Coat
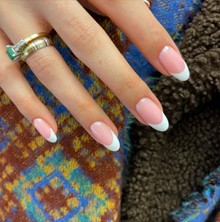
White Tips: The Signature Look
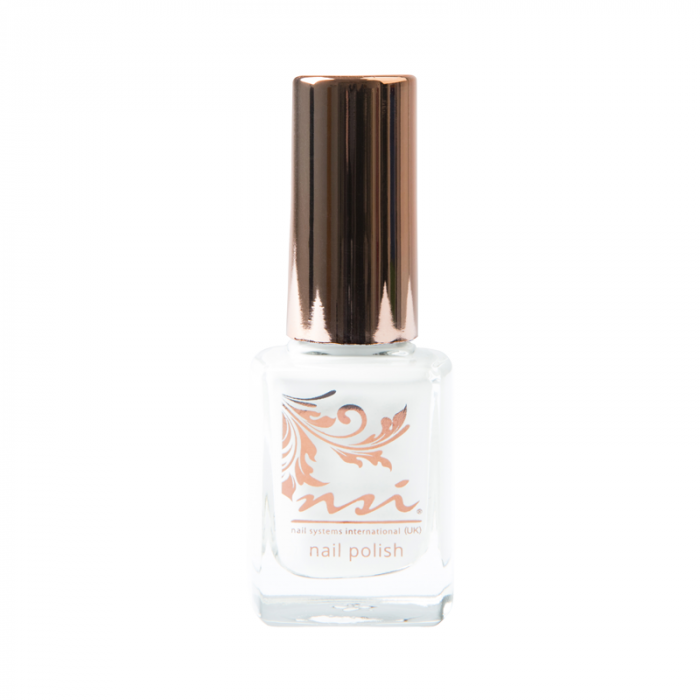
The white tips are the defining feature of a French Manicure. They're what set it apart from a regular manicure. The tips can be as thin as a pencil line or as thick as a marker line, depending on your preference. The key is to keep them neat and uniform, which often requires a steady hand or the use of stencils. The quality of the white polish is crucial here; a streaky application can ruin the entire look.
NSI Polish Arctic White
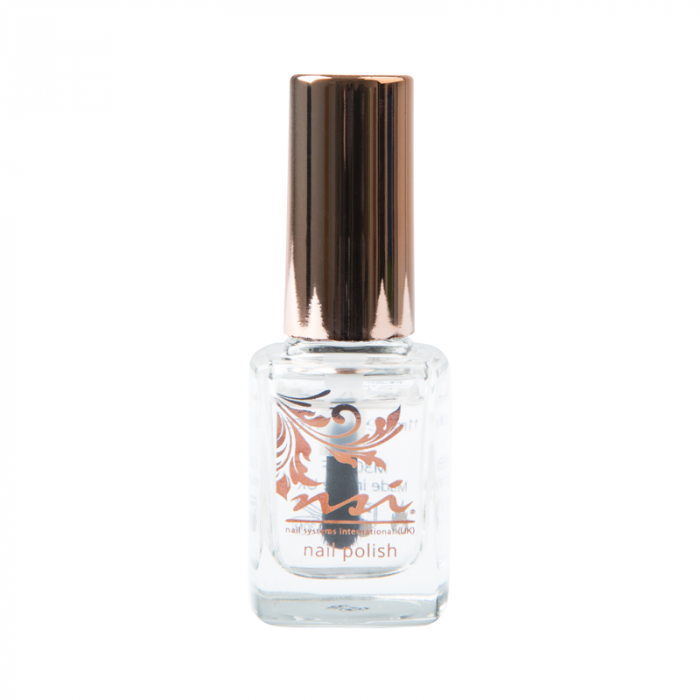
Top Coat: The Final Seal
Once your base and tips are done, it's time for the top coat. This is what gives your nails that salon-like glossy finish. But it's not just about aesthetics; the top coat also acts as a protective layer, shielding your manicure from chips and cracks.
NSI Polish Gel Effect Top Coat
The Colour Palette
Classic Colours: Less is More
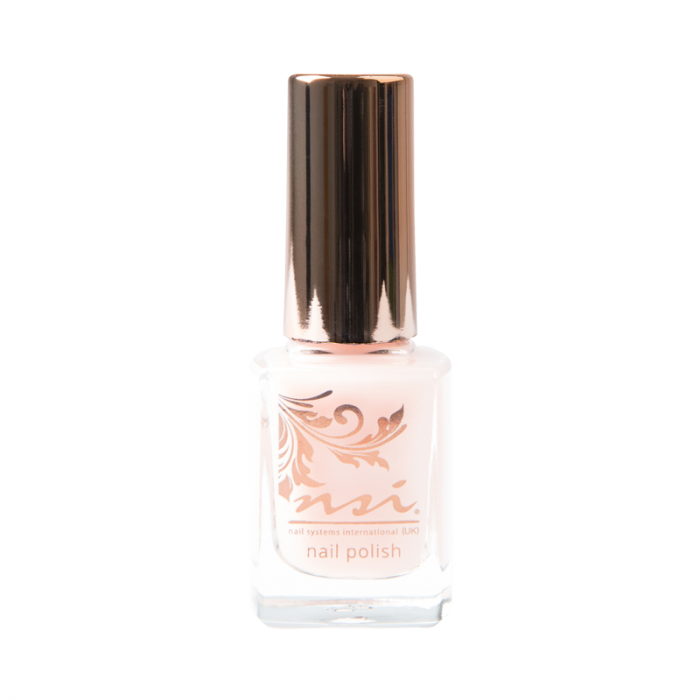
The traditional French Manicure is known for its subtlety. The base is usually a soft pink or a nude, complemented by striking white tips. This minimalistic approach is what makes it a versatile choice, suitable for both casual and formal settings.
NSI Polish Pink Lemonade
Customisation: The Sky's the Limit
While the classic colours are evergreen, there's nothing stopping you from getting creative. Want to match your nails with your outfit? Go for it. How about some glittery tips for the festive season? Absolutely. The French Manicure serves as a great base for all kinds of customisation.
Why Choose a French Manicure?
Versatility: One Style, Multiple Occasions
The French Manicure is like the little black dress of the nail world. It's appropriate for almost any occasion. Whether you're attending a business meeting, going on a first date, or walking down the aisle, you can never go wrong with a French Manicure.
Timelessness: A Style That Defies Time
Fashion trends come and go, but the French Manicure has stood the test of time. Its understated elegance makes it a timeless choice, one that has been embraced by generations of women.
Simplicity: Less is More
While the French Manicure looks sophisticated, it's surprisingly easy to achieve. With the right tools and techniques, you can even do it yourself at home. And if you're looking for professional results, salons like NSI Nails offer exceptional French Manicures that are worth every penny.
Nails by Hayley_nails_brows_beauty
Tools and Techniques for a Perfect French Manicure
So, you're smitten by the elegance of the French Manicure and are keen to try it out yourself. Fantastic! But before you dive in, it's crucial to have the right tools and techniques at your disposal. After all, a painter is only as good as their brushes, right? Let's explore the must-haves and must-dos to achieve that salon-perfect French Manicure.
Essential Tools
Nail File: Shaping Your Canvas
First things first, you'll need a good quality nail file. This tool is essential for shaping your nails and creating that perfect edge for your white tips. A nail file with a higher grit number is generally softer and better for natural nails. NSI Nails offers a variety of nail files that can help you achieve the desired shape with ease.
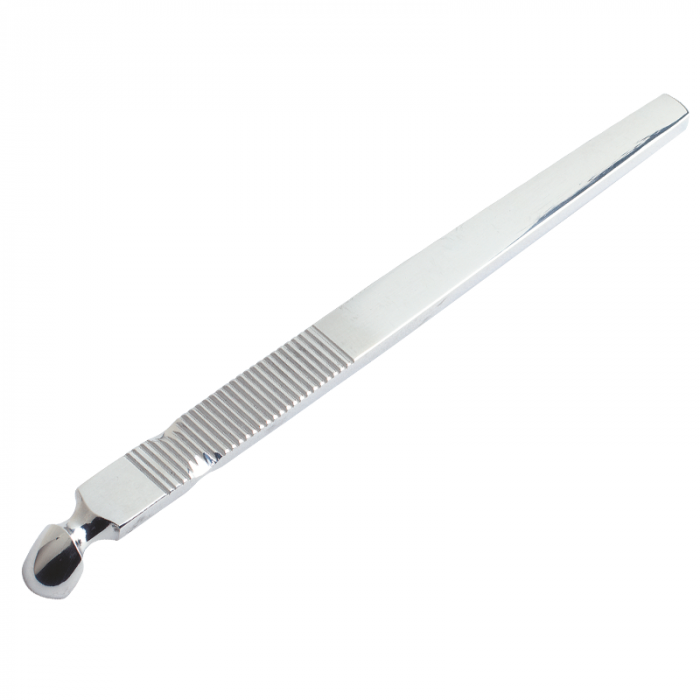
Cuticle Pusher: The Unsung Hero
A cuticle pusher is another essential tool that often goes unnoticed. Pushing back your cuticles not only makes your nails look longer but also creates a clean canvas for your polish. Opt for a stainless-steel cuticle pusher for durability and ease of sterilisation.
Cuticle Pusher (Stainless Steel)
Nail Buffer: The Polish Prepper
Last but not least, a nail buffer is crucial for creating a smooth surface for your polish. It removes ridges and tiny imperfections, ensuring that your base coat adheres perfectly.
Pre-Manicure Techniques
Buffing: The Foundation of Perfection
Buffing your nails is not just about smoothing the surface; it's about creating a foundation for your polish to adhere to. Use a high-grit buffer and focus around the cuticle area for the best results.
Cuticle Pushing: The Art of Elongation
Pushing back your cuticles is more than a cosmetic step; it's an art form. It elongates the nail bed, giving you more space to work with and making your nails look longer and more elegant.
Application Techniques
Base Coat: The Starting Line
The base coat is your starting line; it sets the stage for everything that follows. Apply a thin, even layer, ensuring that you cover the entire nail surface. This will help your coloured polish adhere better and last longer.
White Tips: The Highlight of the Show
Ah, the white tips—the signature of the French Manicure. Whether you're using tape, stencils, or a freehand technique, the key is to keep the lines crisp and uniform. A high-quality white polish can make all the difference here.
Top Coat: The Final Flourish
The top coat is what seals the deal. It adds that glossy finish and acts as a protective layer, ensuring that your manicure stays chip-free for longer.
Advanced Techniques
Nail Art: Beyond the Basics
If you're looking to add a bit of flair to your French Manicure, why not experiment with some nail art? From tiny rhinestones to intricate patterns, the options are endless.
Stencils: For the Perfectionists
Stencils can be a lifesaver for those who struggle with keeping a steady hand. They come in various shapes and sizes, allowing you to create flawless white tips with ease.
There you have it—a comprehensive guide on the tools and techniques you'll need for a perfect French Manicure. Whether you're a DIY enthusiast or a salon regular, these tips and tricks will come in handy. And remember, practice makes perfect!
Preparing Your Nails for a French Manicure
Before you dive into the art of a French Manicure, it's crucial to set the stage right. That means preparing your nails so they're ready to be transformed into a work of art. From washing your hands to buffing your nails, each step is a building block towards that perfect finish. Let's walk you through the process, shall we?
Wash Your Hands and Remove Old Polish
Starting with clean hands and nails is not just a hygiene practice; it's a necessity for a flawless finish. Any residual polish or dirt can interfere with the application of the base coat, leading to an uneven manicure.
- Hand Washing: Use a mild soap to wash your hands thoroughly. It's not just about cleanliness; it's about ensuring that your nails and the skin around them are free from oils and dirt.
- Nail Polish Remover: Opt for a non-acetone nail polish remover to get rid of old polish. Acetone can be harsh on your nails and cuticles, so a gentler option is preferable.
Pro Tip: For those hard-to-reach areas, use an orange wood stick wrapped in cotton and dipped in nail polish remover.
Trim and Shape Your Nails
The shape and length of your nails can dramatically affect the outcome of your French Manicure.
- Nail Trimming: Use a good quality nail clipper to trim your nails to a uniform length. Don't go too short; the charm of a French Manicure often lies in the crescent-shaped white tips.
- Nail Shaping: Once trimmed, use a nail file to shape your nails. Whether you prefer a square or a rounded shape, make sure to file gently to avoid any damage.
Note: If you have shorter nails, don't fret. You can still rock a French Manicure by drawing a thinner white line along the free edge of your nail.
Push Back Your Cuticles
Pushing back your cuticles serves a dual purpose. Not only does it make your nails look longer, but it also creates a smooth surface for your polish.
- Cuticle Softening: Soak your hands in warm water mixed with cuticle oil for about 5 to 10 minutes.
- Cuticle Pushing: Use a cuticle pusher to gently push back the cuticles. Finish off by applying some cuticle oil for added nourishment.
Buff Your Nails for Polish Preparation
Buffing your nails is the final step in preparing your canvas. It not only smoothens the nail surface but also helps the polish adhere better.
- Buffing Tools: Use a high-grit nail buffer for this step. A low-grit buffer can strip away layers of your nails and cause damage.
- Buffing Technique: Maintain a light touch and focus on the cuticle area. The aim is to create a surface that will hold the polish longer.
Expert Advice: Don't exert too much pressure while buffing; it can do more harm than good.
Common Mistakes to Avoid in a French Manicure
Achieving that salon-perfect look can sometimes be a tricky affair. Whether you're a DIY enthusiast or a seasoned nail technician, there are pitfalls that can turn your manicure from fab to drab. In this section, we'll delve into some of the most common mistakes people make when attempting a French Manicure and offer expert advice on how to avoid them.
The Right Tools for the Right Job
One of the first mistakes people often make is using the wrong tools. For instance, using a metal nail file can be detrimental to your nails, causing them to split and weaken over time. It's advisable to opt for a crystal or glass nail file, which offers a smoother finish and is less harsh on your nails. Similarly, when it comes to nail buffers, a low-grit buffer can be too abrasive, leading to weakened nails. A high-grit buffer is your best bet for a gentle yet effective buffing. It's also essential to clean your tools before and after use. This simple practice not only prolongs the life of your tools but also minimizes the risk of bacterial infections.
Application Errors
The application process is a critical phase where many mistakes are commonly made. One such error is either skipping the base coat or applying it too thickly. The base coat serves as the foundation for your manicure, and a thin, even layer is crucial for a smooth application of the subsequent layers. When it comes to drawing the white tips, the thickness matters. Drawing them too thick or too thin can disrupt the balance and symmetry of the look. Using a stencil can help achieve a uniform and balanced appearance. Another common mistake is rushing through the top coat application, leading to smudging or uneven coverage. Patience is key here; allow each layer to dry properly before proceeding to the next.
Maintenance Mistakes
Once your French Manicure is complete, the work isn't over. Proper maintenance is essential for longevity. Neglecting your cuticles is a common mistake that can lead to premature chipping of the nail polish. Regular application of cuticle oil can keep your cuticles nourished and extend the life of your manicure. Another mistake is ignoring minor chips or cracks. A small chip doesn't necessarily mean you have to redo the entire manicure. A quick touch-up can often suffice. Additionally, dry and unkempt hands can make even the most flawless manicure look lackluster. Keeping a nourishing hand cream handy and applying it regularly can make a world of difference.
Conclusion
The French Manicure remains an enduring classic that's both elegant and versatile. From understanding its anatomy and colour palette to mastering the essential tools and techniques, achieving the perfect French Manicure is an art form. It's not just about painting your nails; it's about preparing them, applying each layer with precision, and maintaining the look for lasting beauty. Whether you're a DIY enthusiast or a professional nail technician, avoiding common mistakes is crucial for a flawless finish. With the right approach and a bit of patience, you can turn your nails into a masterpiece that speaks volumes about your style and sophistication. For those looking to elevate their nail game, NSI Nails offers a treasure trove of products and insights to help you succeed.
Frequently Asked Questions (FAQs)
1. Can I Use Regular Polish for a French Manicure?
Absolutely, you can use regular nail polish for a French Manicure. However, if you're looking for a longer-lasting finish, consider using gel polish or acrylics. These options offer durability and can last up to three weeks without chipping. Just remember, gel and acrylic options require UV or LED lamps for curing, so make sure you have the right equipment.
2. How Can I Make My French Manicure Last Longer?
To extend the life of your French Manicure, apply a thin layer of top coat every 2-3 days. This acts as a protective barrier against chips and wear. Also, avoid using your nails as tools to open packages or peel off stickers, as this can cause premature chipping.
3. What's the Best Way to Remove a French Manicure?
The removal process depends on the type of polish used. For regular polish, acetone-free nail polish remover and cotton balls will do the trick. For gel or acrylic, you'll need to soak your nails in pure acetone for about 10-15 minutes. Always follow up with a nourishing cuticle oil to replenish moisture.
4. Can Men Get a French Manicure?
Of course! French Manicures are gender-neutral and can be a great option for men who want a polished, clean look without going for bold colours. The process remains the same, and the result is a natural, well-groomed appearance.